Reviving My iBook G4: A Tale of Upgrading from CCFL to LED Backlight
In a quest to enhance my iBook G4's display, I embarked on an adventurous upgrade from the old CCFL (Cold Cathode Fluorescent Lamp) backlight to a modern LED one. This project, inspired by Brian's Computer Retreat, was set to transform my device's visual experience.
The Shortcomings of CCFL Backlights:
My decision to replace the CCFL backlight stemmed from its inherent limitations:
- Dimming over Time: CCFL tubes lose brightness and color accuracy with age.
- Higher Power Usage: They are less energy-efficient, affecting battery life.
- Environmental Concerns: CCFLs contain mercury, posing environmental risks.
LED Backlights: A Brighter Choice
Opting for LED backlights brought several advantages:
- Improved Brightness and Color: LEDs offer vivid, consistent lighting.
- Energy Efficiency: They consume less power, beneficial for older laptops.
- Durability and Eco-Friendliness: LEDs are longer-lasting and mercury-free.
The Conversion Process:
- Research and Preparation: I started by researching and sourcing the necessary LED components from AliExpress.
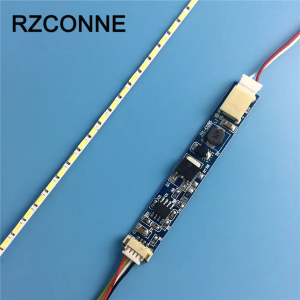
Affiliate Link: https://s.click.aliexpress.com/e/_DCMxscN
-
Disassembling the Screen: Following iFixit's guide, I disassembled the screen with care.
-
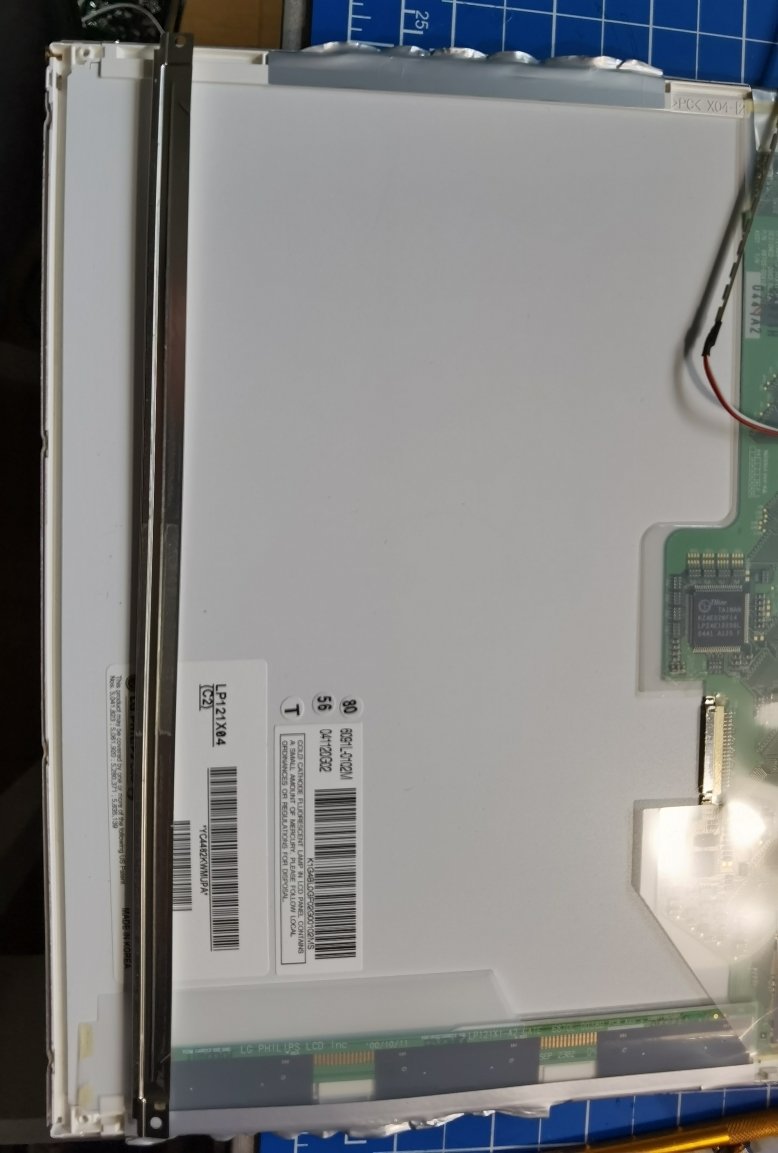
CCFL Removal: Contrary to the full disassembly advised in this CCFL replacement guide, I opted for a quicker method by ripping off the metal bracket holding the CCFL. This broke the CCFL, which was fine since I planned to replace it with an LED strip.
-
LED Installation: The LED strip was positioned where the CCFL used to be, ensuring even light distribution.
-
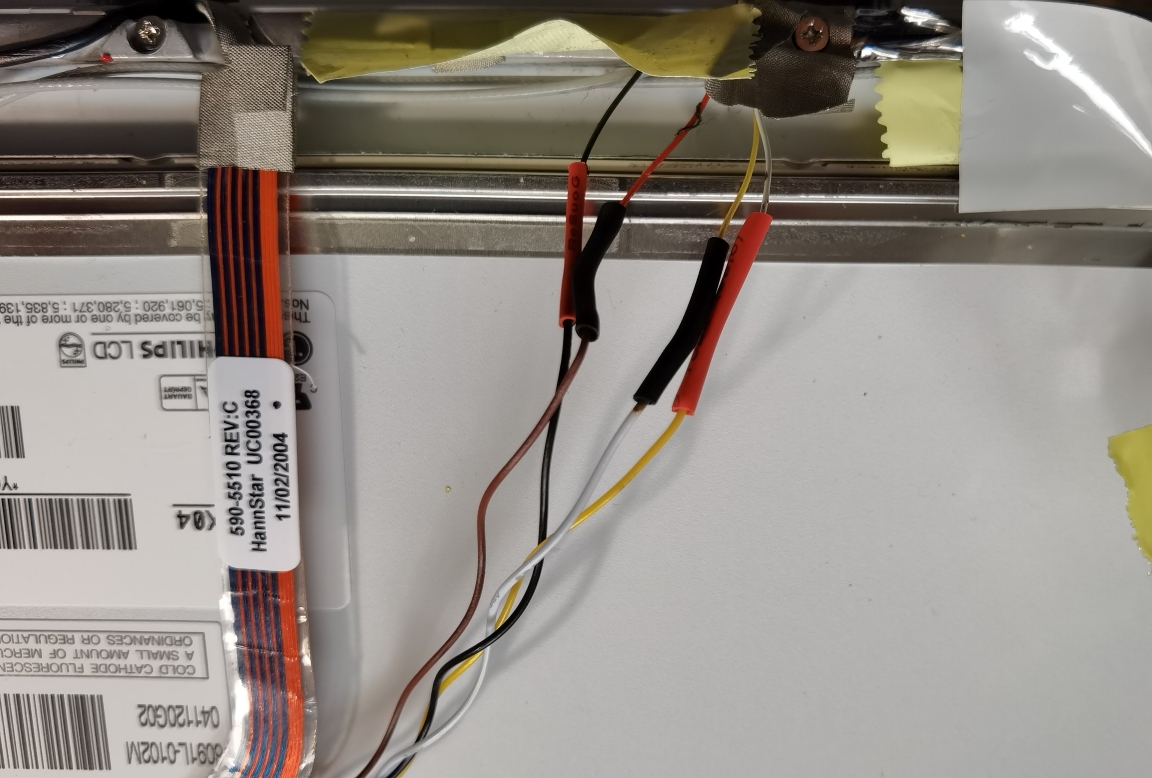
Soldering and Electrical Work: This technical phase involved soldering the iBook's cables to the LED controller board. The connections were as follows:
iBook Cable Color LED Board Signal LED Cable Color Red Vin Brown White ENA Yellow Yellow DIM White Black GND Black Refer to [Image2] for a visual guide on the soldering.
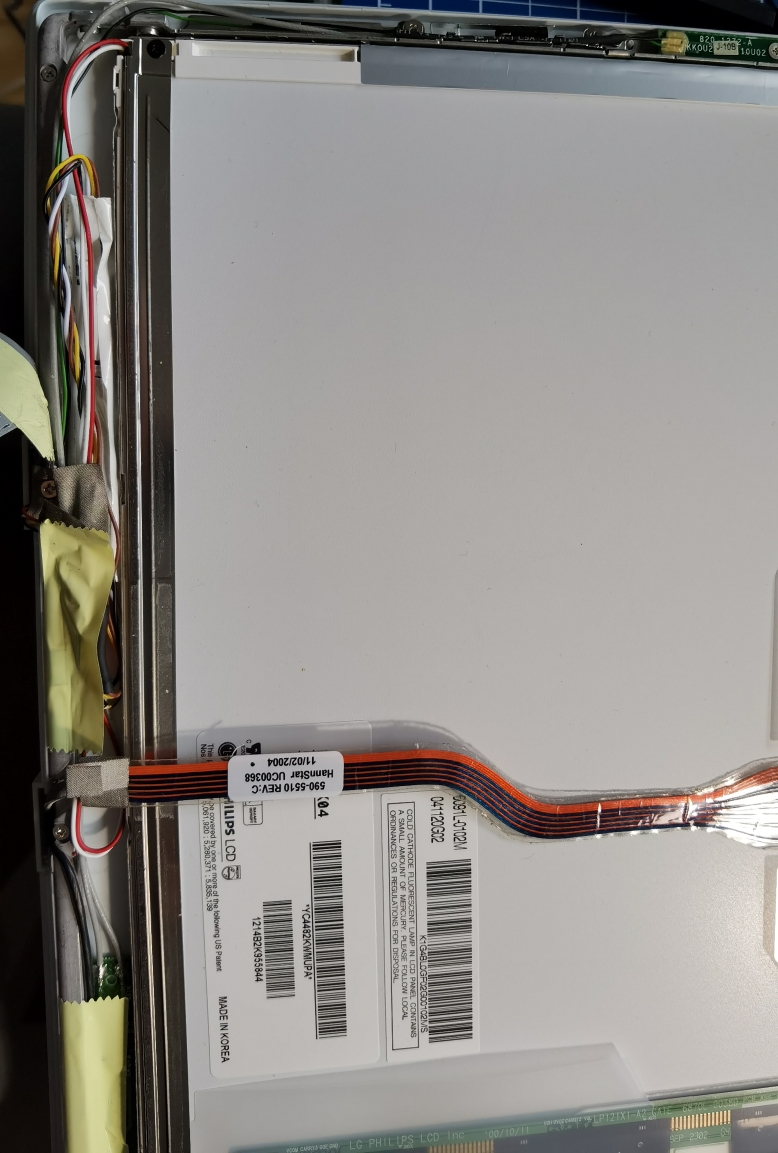
- Final Assembly and Testing: After completing the electrical work, I reassembled the screen and tested the new LED backlight.
Results and Insights:
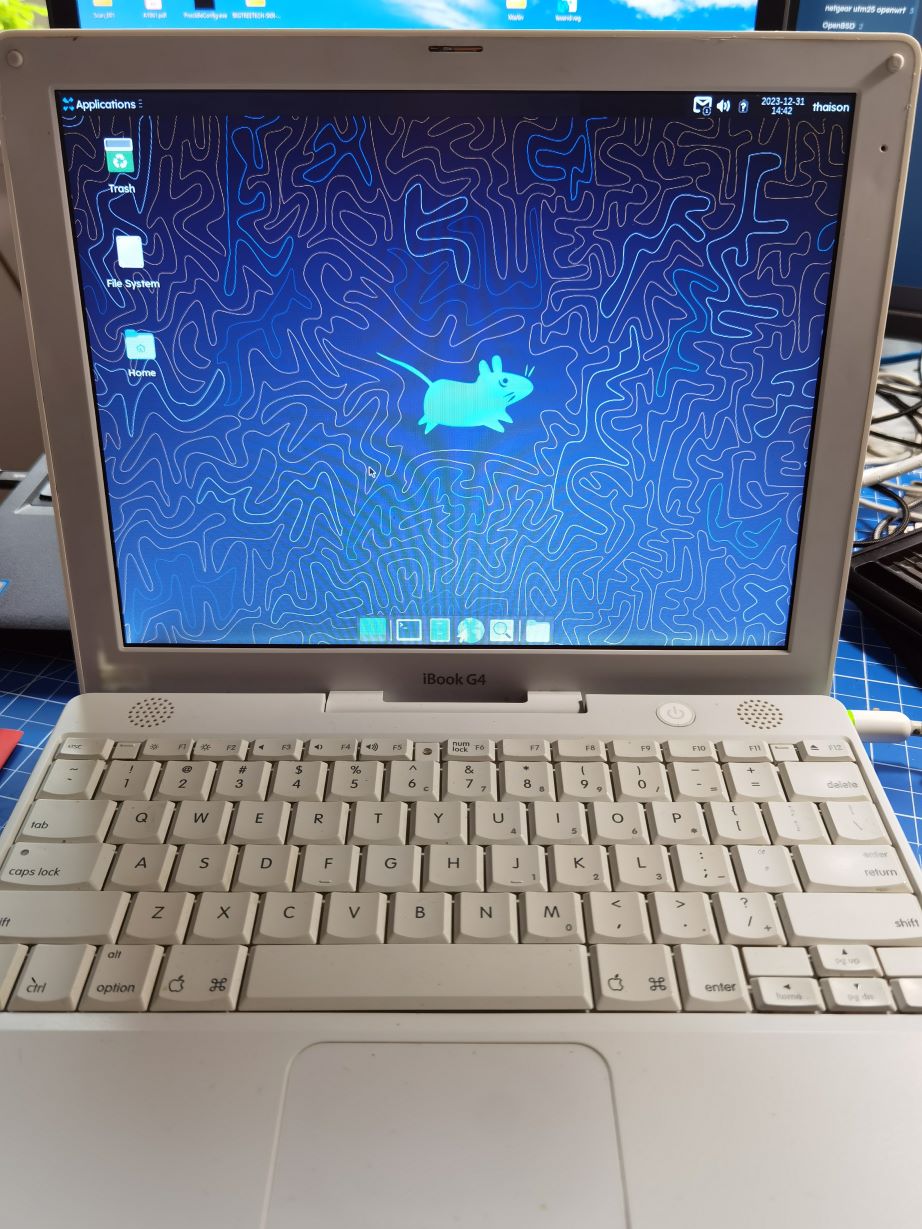
The upgrade resulted in a significant improvement in display brightness and color vibrancy. However, a couple of unique points emerged:
- Brightness Bleedthrough: The intense brightness of the LEDs may lead to some bleedthrough in darker environments.
- Inverted Brightness Control: The brightness control operates inversely, with 0% being the brightest setting and 100% the dimmest.
Concluding Thoughts:
This DIY project was a perfect blend of technical challenge and creative innovation, demonstrating how older technology can be revitalized. If you're considering a similar upgrade, I hope this detailed guide provides both inspiration and practical insights. Feel free to share your experiences or questions in the comments below!
